In this article, we’ll learn how to install anaconda navigator and Jupyter Notebook to build Python Machine Learning models.
So, let’s get right into it.
Introduction to Jupyter Notebook
We can use multiple software like PyCharm, Python IDLE, and Anaconda which uses Spyder Jupyter. In companies, Jupyter Notebooks is used most as it has the feature to represent the code in a very beautiful manner. This is the reason we’ll be using Jupyter Notebook to run our programs. Let’s now see how to install it in our system.
Steps to install Jupyter Notebook
Follow the below steps to properly install Jupyter Notebook on your pc.
Step 1: Install Anaconda Navigator
First, we’ve to install the software of Anaconda.
Click here to open the Anaconda site. Click on the download button and it’ll start downloading the anaconda file for you. Or you can click on ‘Get Additional Installers’ to specify which specific specifications you want. You can see the downloaded file in the downloads folder.
After it’s downloaded, then open this file and run it as an administrator. Just follow the recommended steps and it’ll start installing. Remember that it can take up to half an hour depending on your internet connection and system requirements as this software is a bit heavy, so stay calm and drink your green tea until the installation is finished.
Step 2: Open Anaconda Navigator
Click on the start button of your pc or search and write anaconda. It’ll show the anaconda navigator, just click on it to open it. Wait until it opens and click on the ok button if some popup appears. Also, make sure that you have an active internet connection as some packages will be installed automatically.
After that, you’ll see idle’s, if not then click on the top right refresh icon or restart the Anaconda Navigator. Click on the Jupyter Notebook launch and after some time, the Jupyter Notebook will be opened in your default browser.
Step 3: Create Python File
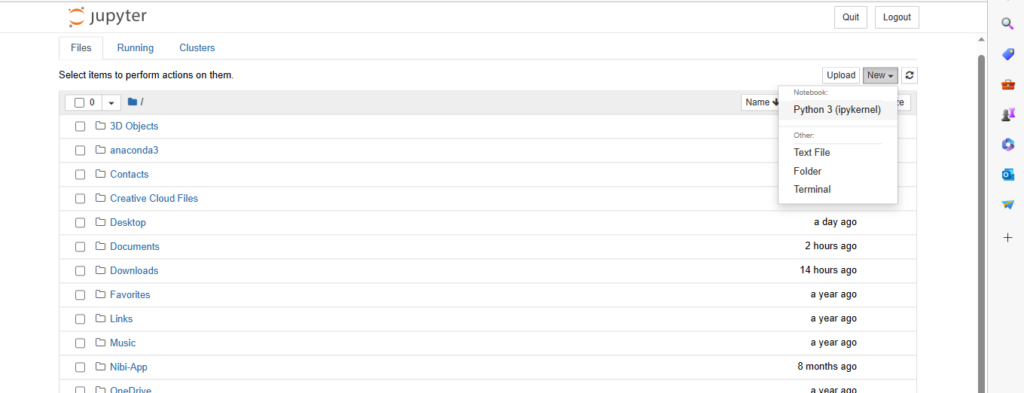
This notebook will be shown in your browser. Click the new dropdown(top right) and select Python 3. It’ll create a Python file for you in the new tab. This is where you can easily start implementing your Python coding
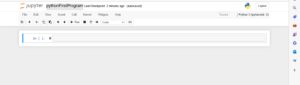
You can rename the file by clicking on the Untitled text alongside the Jupyter logo and give your custom name to it. You can use spaces between the name as well or special characters like underscore(_). Click on rename and it’ll rename it.
So this is the file in which we’ll do our Python programming.
Step 4(Just for Demonstration): Write a Simple Python Code
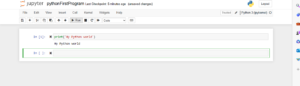
We’ll do our programming in these cells/blocks. For demonstration, we’ve specified a simple Python print function, and clicking on the top run button(where the cursor is placed) will run the program. The output ‘Hy Python World’ can be seen below the specified cell. This is how we’ll do our coding using these cells.
Congrats on successfully installing the Anaconda Navigator and Jupyter Notebook. In the next articles, we’ll learn Python coding for machine learning, data science, and much more.
Conclusion
In conclusion, we’ve learned how to properly install Anaconda Navigator and Jupyter Notebook to start coding Python programs to learn data science and Python machine learning.
In our next articles, we’ll start learning data science using Python programming. We’ll learn how to use the Python pandas library, Python matplotlib, Python histograms, and much more. We’ll also learn how to work with CSV(comma-separated value) and other concepts as well.
We’ll also be learning the creation of models, and data visualization in a very beautiful manner. Hope to see you in our next articles as well.
Thank you so much for reading this article.

Pingback: What is Python NumPy, NumPy Multidimensional Arrays - Machine Learning PY